Imports
Creating an order import configuration
Follow these steps to create profiles to import new orders into Avasam
Avasam can import new orders using a CSV file. This is a text file, but can also be opened and edited in a spreadsheet such as Excel. This means that orders placed on a channel Avasam doesn't integrate with can still be fulfilled through the portal.
- In Avasam, open the settings menu.
- Select 'imports'.
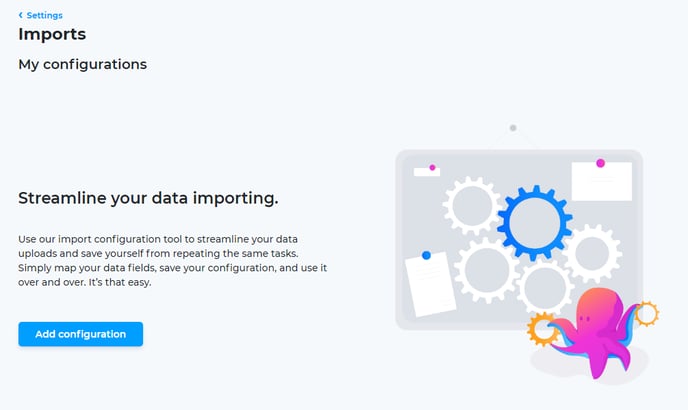
- Click on the add configuration button.
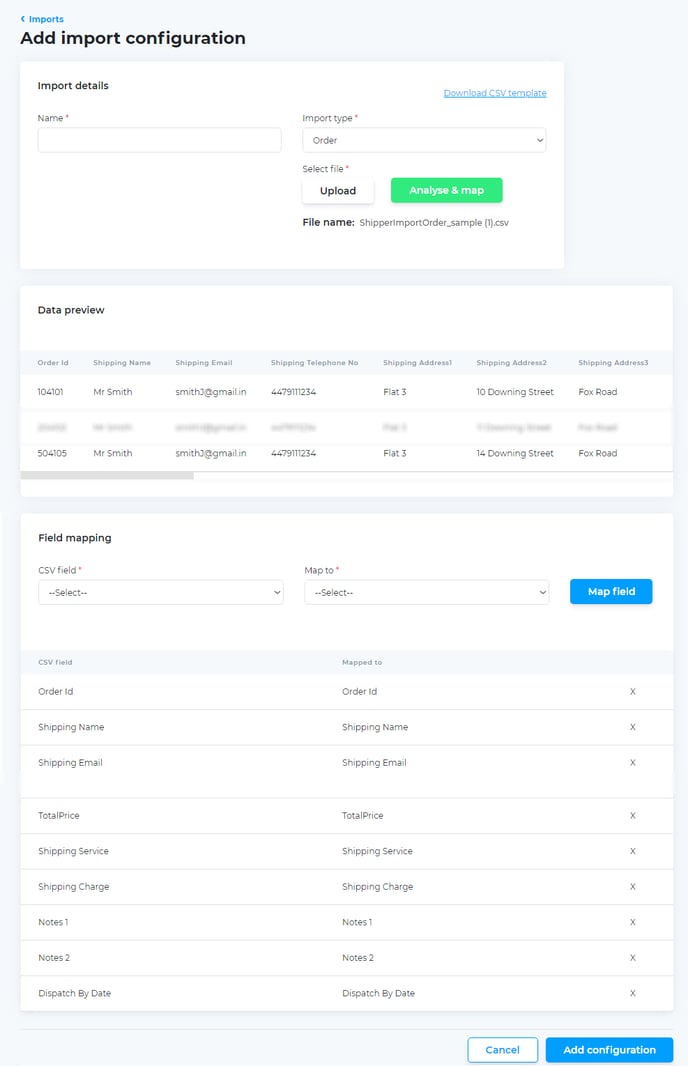
- Next, name the import for later reference.
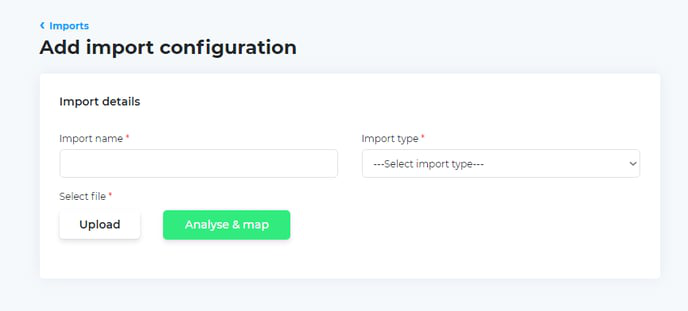
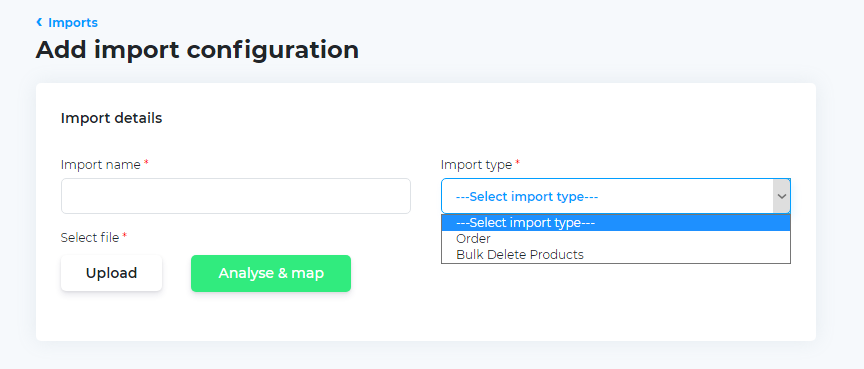
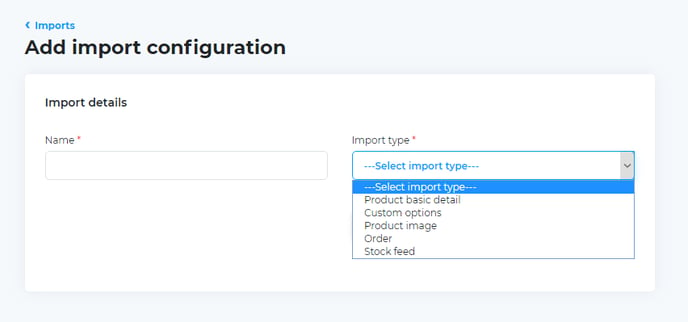
- Select 'order' from the import type drop-down list.
- If you aren't sure of the import file's format, then click on the link to 'download CSV template'. This will give you the correct headings and an example of the content it contains.
- Once your file is ready, click on the upload button.
- Select your file and click 'open'.
- Click the analyse and map button for Avasam to process your CSV file. When complete, Avasam will update the relevant view.
- Check the data preview to ensure you selected the correct file. If not, then return to step 6.
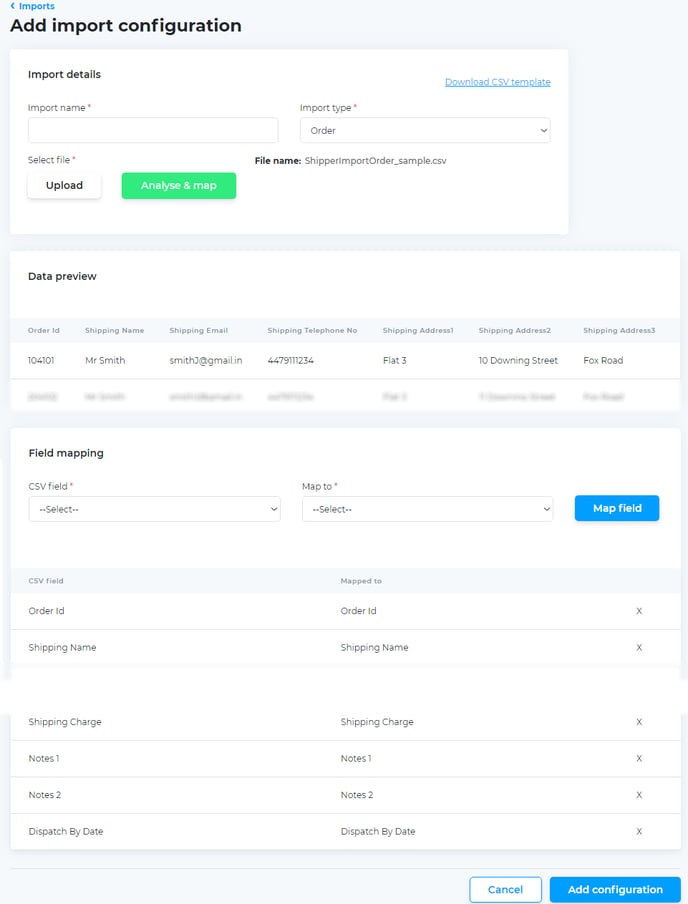
- You need to ensure that the data from the CSV file will be imported into the right place. This takes place in field mapping.
- When Avasam recognises the heading of a field in the file, it will map it to the corresponding field.
- If the field is mapped incorrectly, you can delete the mapping by clicking on the 'x' beside it.
- Any CSV fields not mapped will be found in the CSV field drop-down list.
- Select the field to map from the list, then select the field it should be mapped to in the map to list. Next, click the map field button to apply the mapping.
- Repeat steps 14 and 15 for all fields you want to be imported.
- When complete, click the button marked 'add configuration'.
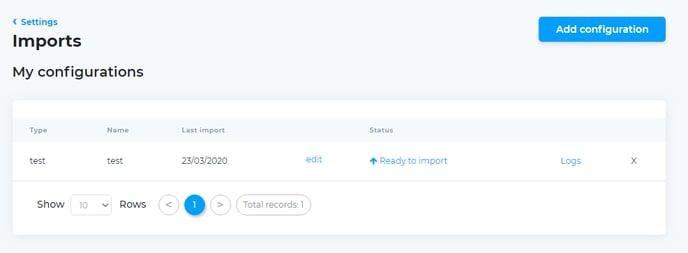
- You will be returned to the imports screen, and see a list of currently available import configurations with their status.
Importing orders into Avasam
When orders are made on a channel Avasam doesn't connect to, they can be imported from a CSV file
Avasam can import order information from a CSV file. This is a text file, but can also be opened and edited in a spreadsheet such as Excel. To import a file, you must first tell Avasam what information you want to import.
Orders imported into Avasam from external sources aren't affected by our KPIs - the time to dispatch is up to you. You are also responsible for ensuring their are paid for, whether before dispatch or after.
To create a new import configuration for a new import file type or source, you will need an example file to use.
- In Avasam, open the settings menu.
- Select 'imports'.

- Click on the 'add configuration' button.
- In the 'add import configuration' dialogue, select the 'import type' of 'order'.
- If you wish, you can click on the link to 'download csv template' if you wish to review the fields that can be accepted, or to populate a copy of the file to make the import easier.
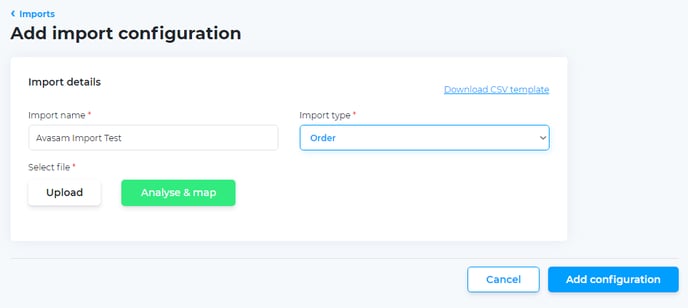
- When you have a CSV file ready to import, click on the 'upload' button, and locate the file in the browse window, before clicking 'open'.
- Click the 'analyse & map' button to get Avasam to review the data in the file for errors.
- A 'data preview' will be loaded. It this shows the data in the file correctly, then move onto the 'field mapping' section below it.
- The left hand column lists the column headings in the file you uploaded, the right hand column shows which Avasam field it has been matched to. Avasam will automatically match fields if their name matches the name of the field precisely.
- To create a mapping:
- Select the name of the CSV heading in the 'CSV field' drop down.
- Select the Avasam field you want to map it to in the 'map to' drop down list.
- Click 'map field' to create the mapping.
- Both fields will be removed from the drop down, and the list will be updated.
- If you want to remove a mapping:
- Locate the line in the list of fields.
- Click on the 'x' to the right.
- Confirm that you want to delete the mapping.
- Both fields will be come available in their drop down lists.
- When you are satisfied that all fields have been mapped, click on the 'add configuration' button.
- You will be returned to the 'imports' screen, now listing your import configuration.
Once a configuration has been created and used once, it can be reused multiple times.
- In Avasam, open the settings menu.
- Select 'imports'.
- Locate the import configuration you want to use. It should show the status as 'ready to import'.
- Click on 'ready to import'.
- Locate the file to import, and click on 'open'. The import's status will then change to 'import in queue'.
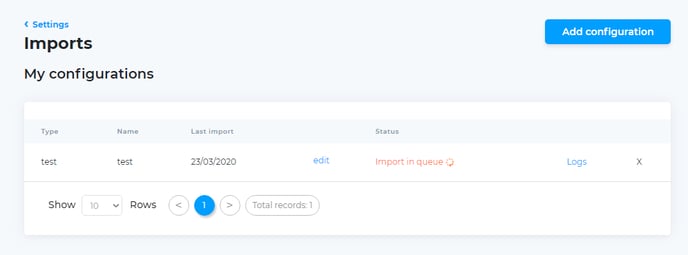
- When the import is complete, you can check its progress by looking at the logs. To do this, click on the logs link.
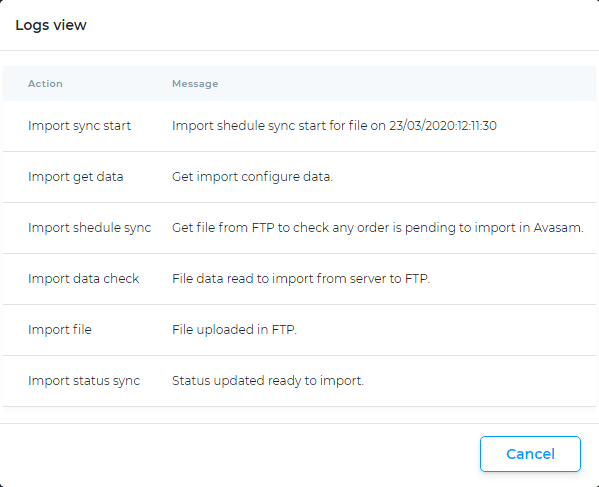
- The list that is shown gives you the dates and times the import has been run. Click on 'view' to open the selected import log.
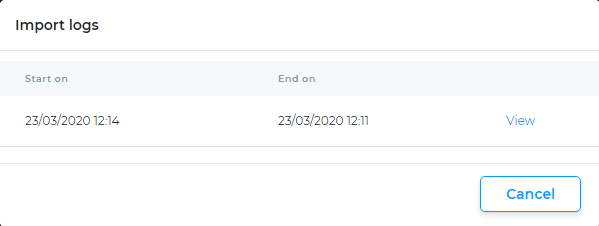
- When you have finished reviewing the logs, click 'cancel' to return to the list, and 'cancel' again to return to the import configurations.
Remove sourced products from Avasam
Follow these instructions to remove multiple sourced files from your inventory at once
Avasam can remove SKUs from your inventory in bulk using 2 methods - within the my products screen, or using a CSV file (a text file that can also be opened and edited in a spreadsheet such as Excel). This is faster and easier than removing them one at a time.
Removing products in bulk from my products
Removing products in your my products screen
- Open my products.
- Use the filters and search at the top to locate the products you no longer wish to have in your inventory to sell.
- You can click the tick boxes beside the product to select it for unsourcing.
- If you want to select all the products shown, then click on the select all box.
- Click on actions.
- Select unsource.
- You must confirm that you wish to unsource the selected products.
- If you're unsure, you can click cancel.
- If the SKUs are still mapped to an active listing, you will be directed to go to the SKU mapping tool to unmap them using the unlink button.
- Once unlinked, return to step 2 to select and unsource the products.
When removing products from your inventory (unsourcing them), Avasam will no longer control the listing (unmapped) but it will not end/remove them. This might cause you to sell products you cannot fulfil.
End the listing(s) before unsourcing them, in order to protect you from potential bad feedback or disputes.
Removing products using a CSV file
- Open the settings menu.
- Select 'imports'.
- Click on the add configuration button.
- Next, name the import for later reference.
- Select 'bulk delete products' from the import type drop-down list.
- If you aren't sure of the import file's format, then click on the link to 'download CSV template'. This will give you the correct headings and an example of the content it contains.
- You only require 2 headings - SKU and delete.
- If the contents of the delete column for a SKU is yes, then the SKU will be removed from your inventory.
- If the contents of the delete column is no, then that row will be ignored.
- Once your file is ready, click on the upload button.
- Select your file and click 'open'.
- Click the analyse and map button for Avasam to process your CSV file. When complete, Avasam will update the relevant view.
- Check the data preview to ensure you selected the correct file. If not, then return to step 6.
- You need to ensure that the data from the CSV file will be imported into the right place. This takes place in field mapping.
- When Avasam recognises the heading of a field in the file, it will map it to the corresponding field.
- If the field is mapped incorrectly, you can delete the mapping by clicking on the 'x' beside it.
- Any CSV fields not mapped will be found in the CSV field drop-down list.
- Select the field to map from the list, then select the field it should be mapped to in the map to list. Next, click the map field button to apply the mapping.
- Repeat steps 14 and 15 for all fields you want to be imported.
- When complete, click the button marked 'add configuration'.
- You will be returned to the imports screen, and see a list of currently available import configurations with their status.
Editing a listed import configuration
You can easily revise an existing import rather than creating a new one from scratch
- In Avasam, open the settings menu.
- Select 'imports'.
- Identify the import configurator you want to edit.
- Click on the edit link.
- If a field is mapped incorrectly, or you need to change the mapping, you can delete it by clicking on the 'x' beside it.
- Any CSV fields not mapped will be found in the CSV field drop-down list.
- Select the field to map from the list, then select the relevant field under 'map to'.
- Click the map field button to apply the mapping.
- Repeat these steps for all fields that you want to be imported into Avasam.
- When complete, click the button marked 'add configuration'.
Editing order import configurations
You can easily revise an existing import rather than creating a new one from scratch
- In Avasam, open the settings menu.
- Select 'imports'.
- Identify the configuration you want to edit and click the edit link.
- If a field is mapped incorrectly, or you need to change the mapping, you can delete it by clicking on the 'x' beside it.
- Any CSV fields not mapped will be found in the CSV field drop-down list.
- Select the field you wish to map, then select the field it should be mapped to in the map to list.
- Click 'map field' to apply the mapping.
- Repeat these steps for all fields you want to be imported into Avasam.
- When you're finished, click the button marked 'add configuration'.